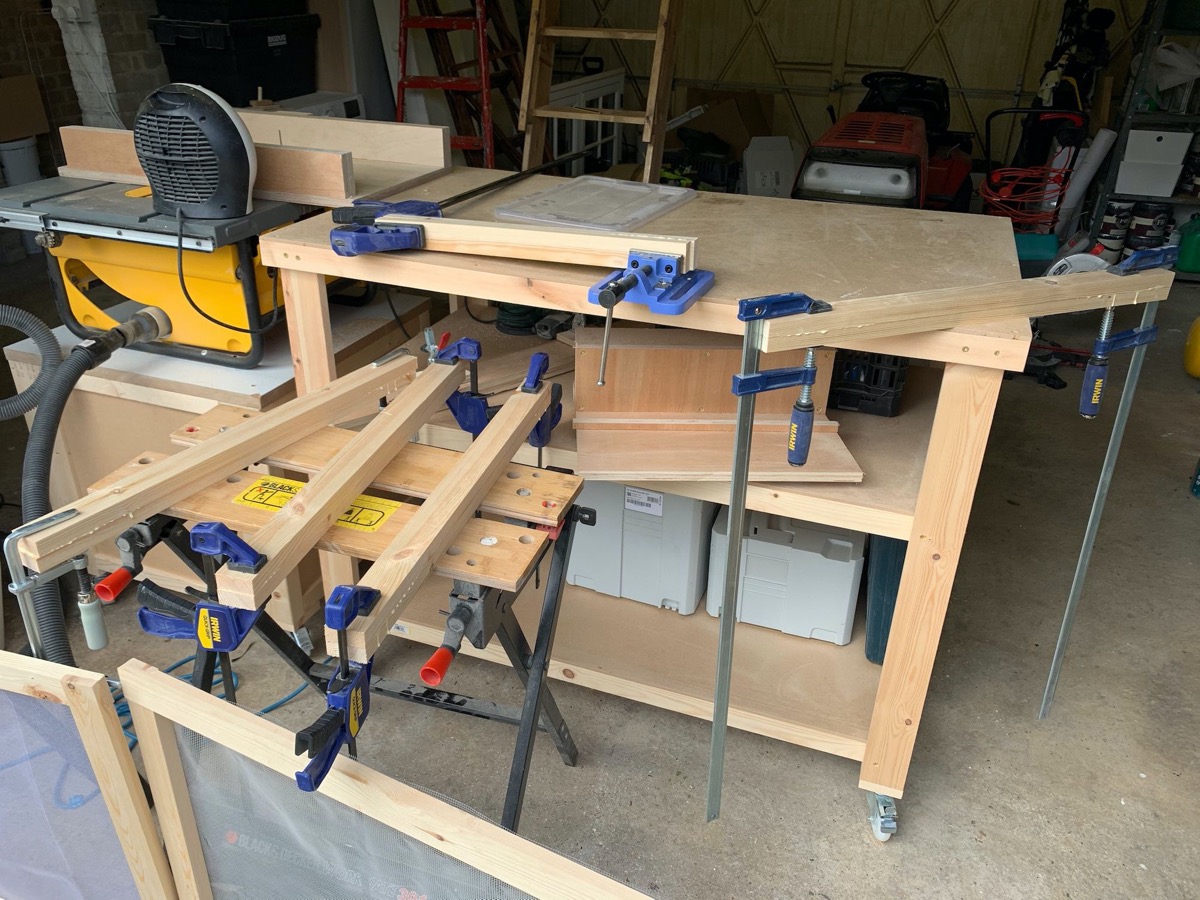
We left London in August 2019, boxed up and ready for our new life in the countryside. Among the many perks was space to assemble a small workshop in our garage. I was in the workshop more or less every day during my masters, so building my own was the realisation of a long-held dream.
Every workshop needs a stool. I ambitiously acquired a copy of Christopher Schwartz’s Anarchist’s Design Book and set about building a simplified version of his bar stool. The book itself is both beautiful and practical, and if you’re interested in building simple furniture or indeed the history of ‘vernacular’ furniture design, buy a copy.
Part One: The Legs
The stool is assembled with staked tenon joinery. Furniture has been made like this for thousands of years. The downward force onto the joint strengthens it, so barring acts of god / drunkenness, this stool should outlive me.
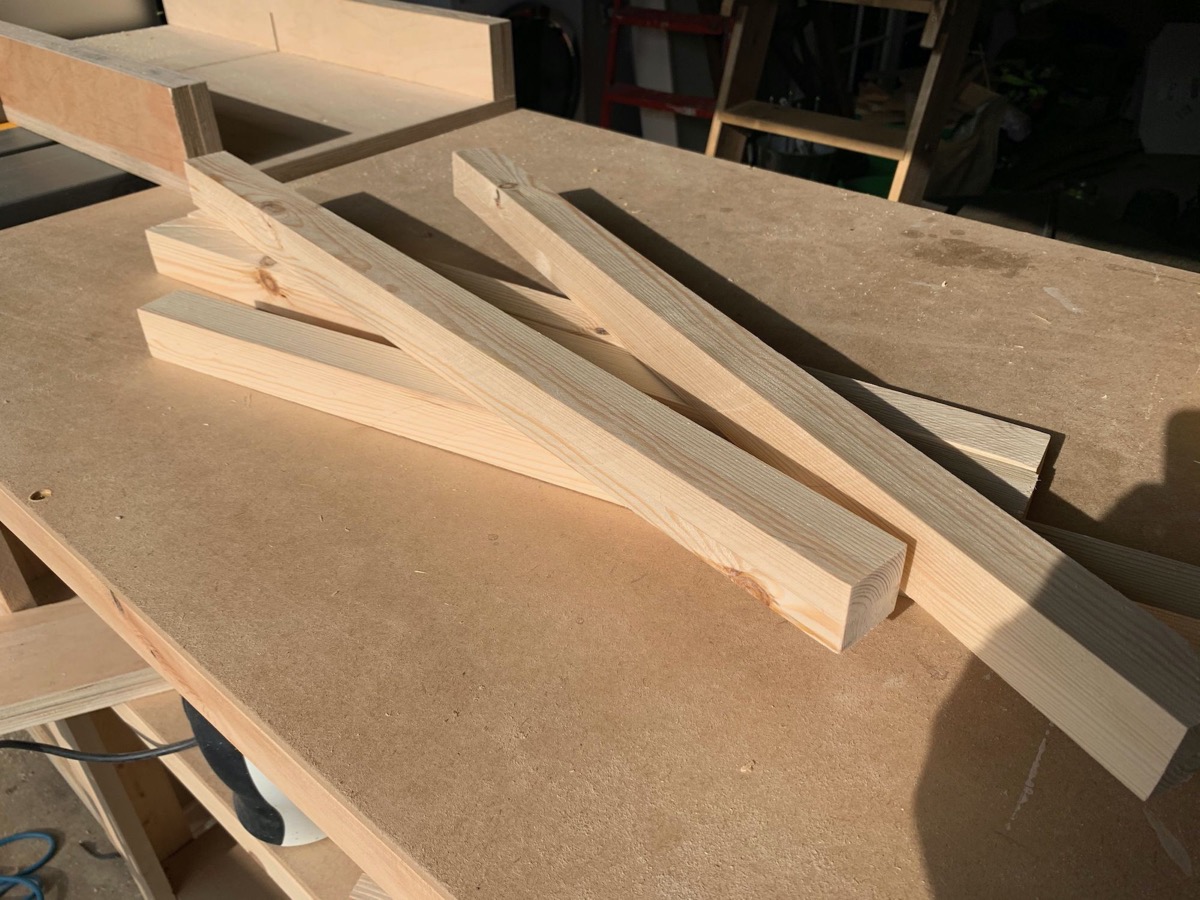
I had some 18mm stock leftover from another project, so I face-glued two lengths together to get the basic dimensions for the legs. It would be simpler to glue a single length together and cut it to length rather than 5 separate glue-ups. Unfortunately, my high-street-bought stock wasn’t straight enough for that.
You may notice there are 5 legs here, but only 3 on the finished stool. Funny story, I took Mr Schwartz’s advice and made an extra leg in case of cock-ups, but for some reason thought the final stool needed 4 legs, not 3. Either way, I didn’t make any unrecoverable mistakes and didn’t need the spare(s) in the end.
With the legs ripped to their outer dimensions on the table saw, it’s time to make them octagonal.
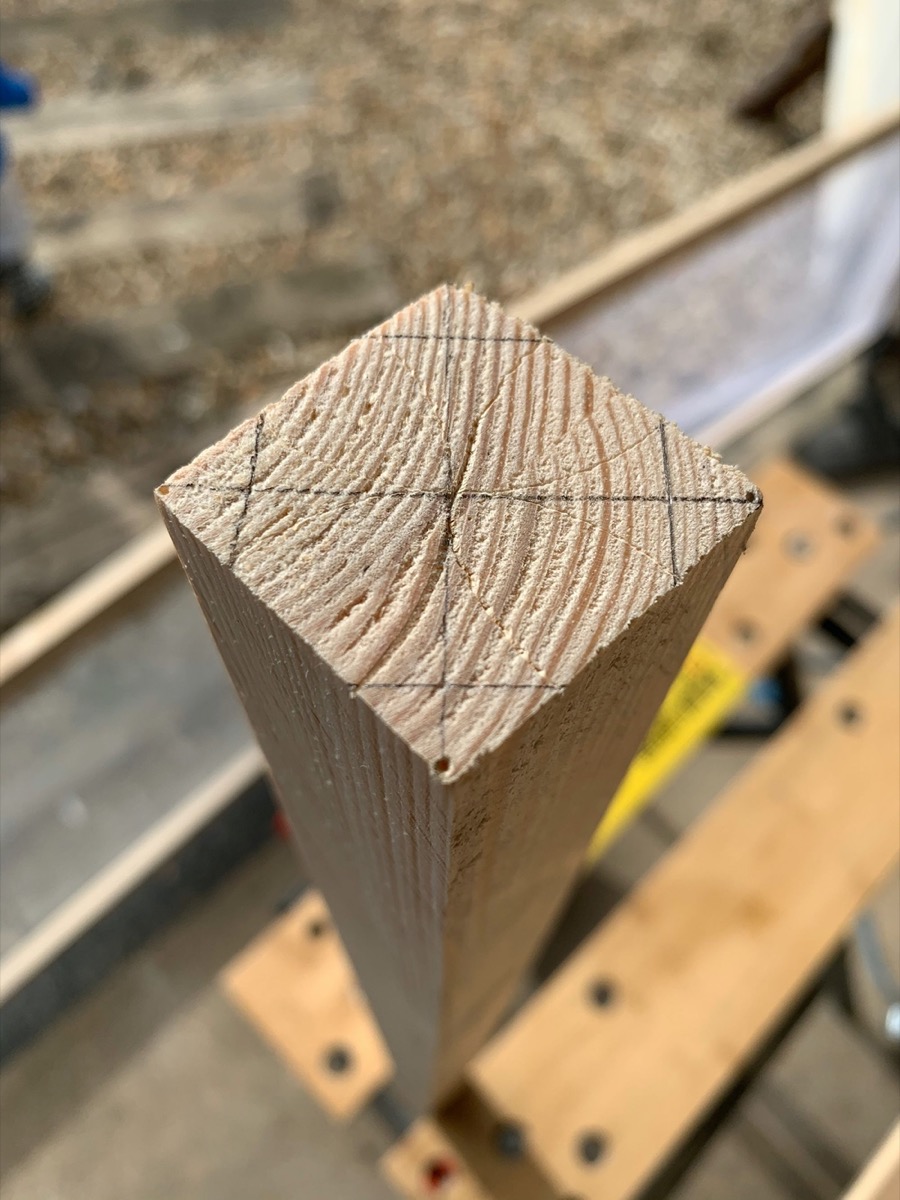
I started out using a compass to mark the octagonal profile for the legs, but quickly realised I’m not that accurate with a hand plane. I ended up marking out the profiles with a 6-inch ruler. This proved more than adequate - turns out the eye is quite forgiving in the final judgement.
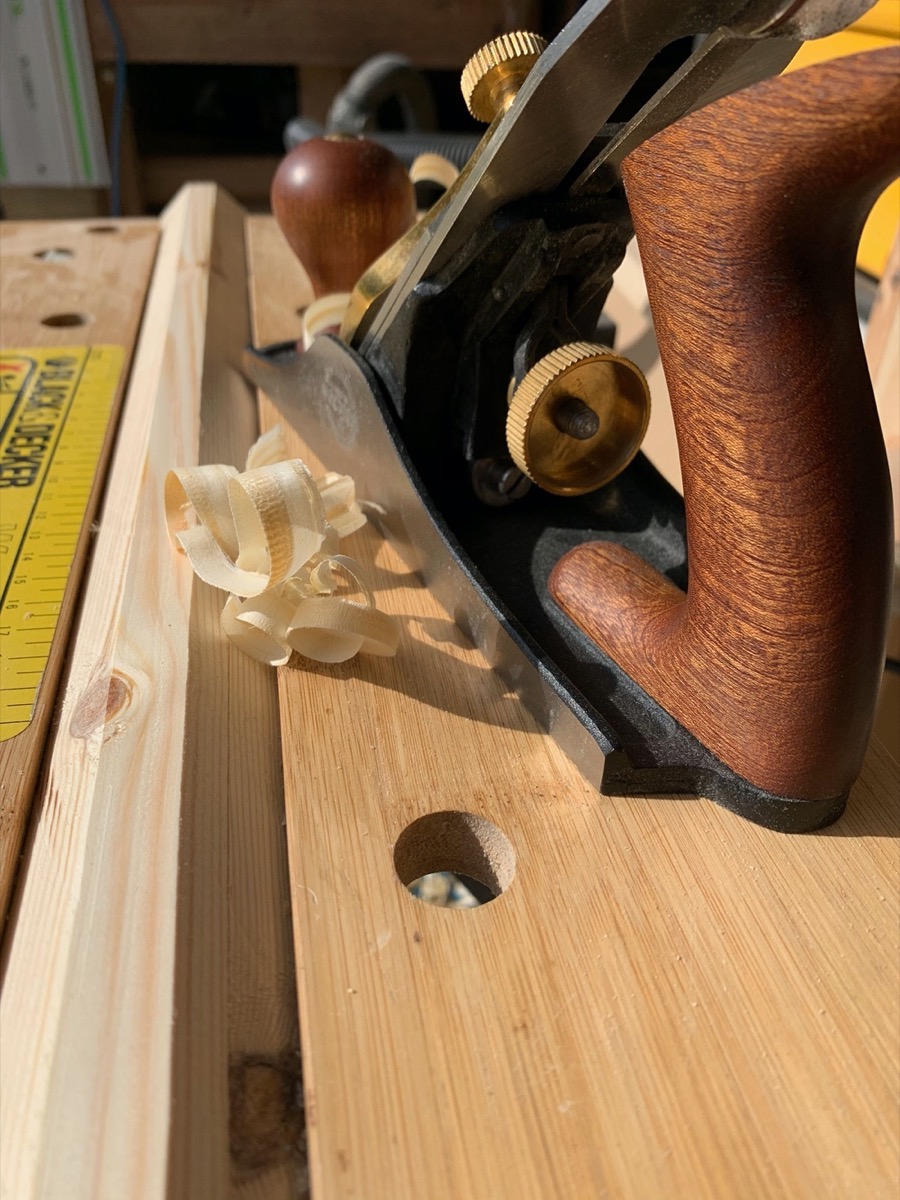
The fitted workbench in my garage didn’t have the work-holding capacity for planing the octagonal leg profiles. Enter the ever-industrious black labrador of every British workshop - the black and decker workmate. It was the perfect tool for the job. The groove on the internal edges is ideal for holding legs.

Part Two: The Seat
The seat is two pieces of 2x4 edge joined with standard wood glue. Not pictured is the moment the seat fell apart after I’d jointed the two boards to make the main seat body. Another round of glueing and all was well.
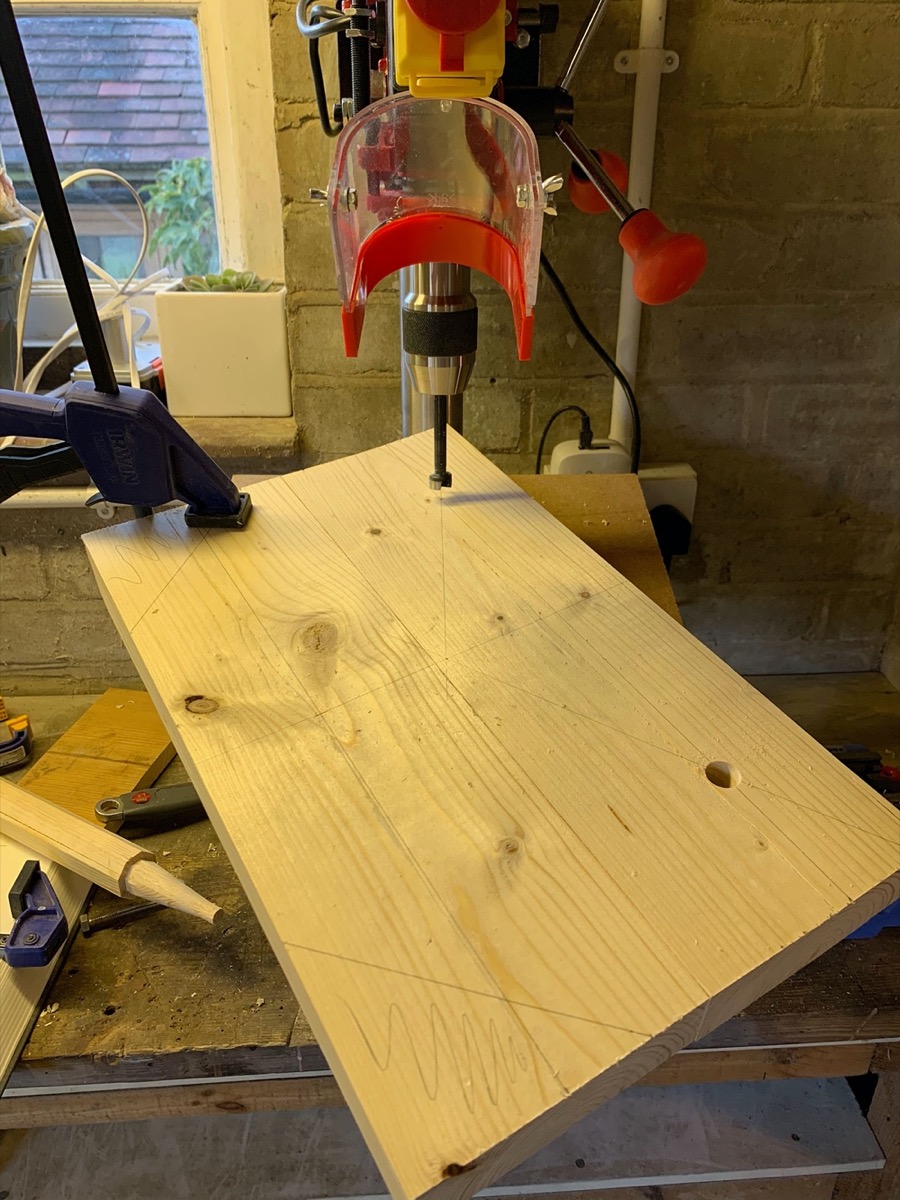
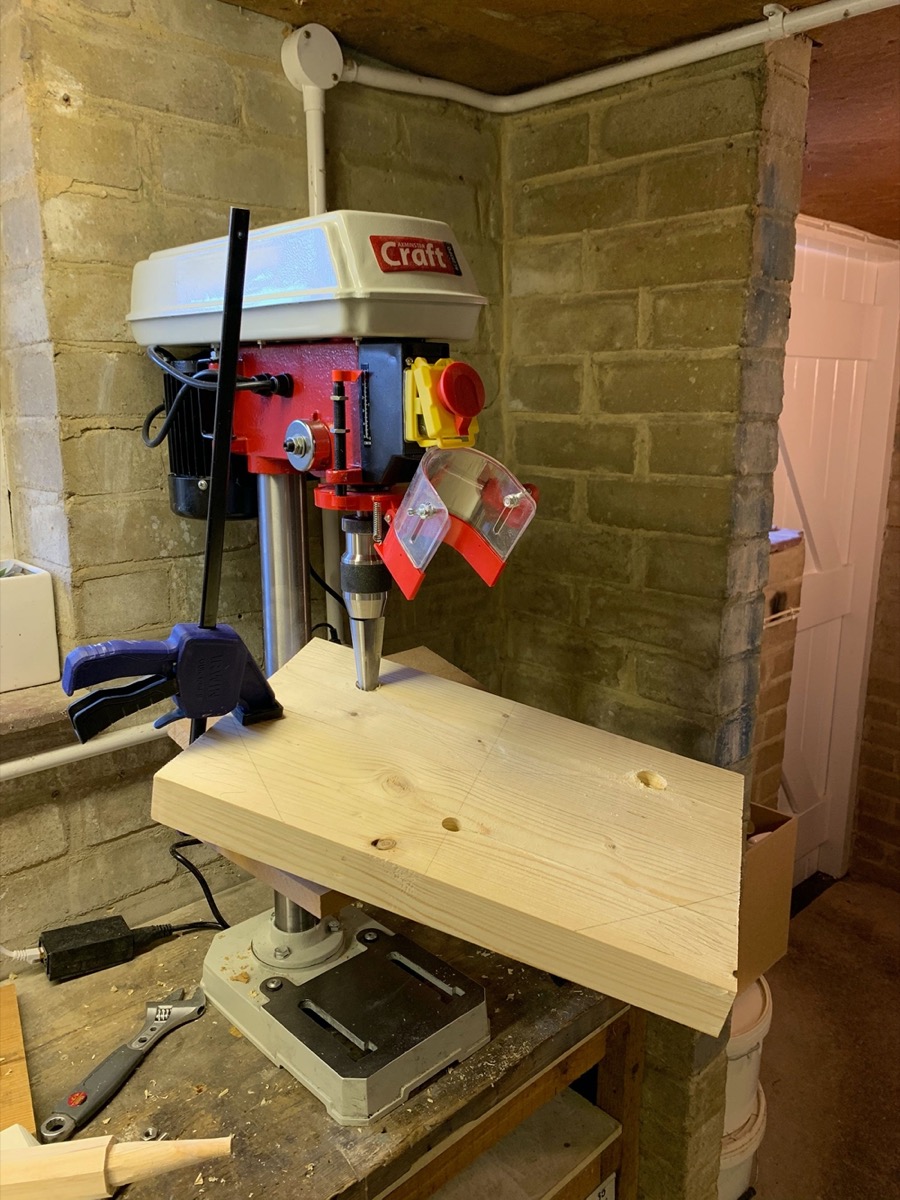
The seat is clamped to a ‘Banjo jig’, which is just a piece of MDF and a hinge set to 15 degrees. My only gripe with this setup is the leg position is limited by the throat depth on the pillar drill. Long-term I think this needs to be a hand-drill operation.
After drilling the initial holes with a Forstner bit I switched to the reamer. A reamer makes a cone out of an existing hole, which will hold the conical ends of the legs.
Part Three: Assembly
I neglected to document the final step of the leg build. You use an oversized pencil sharpener (a.k.a. a tenon cutter) to turn the end of the leg into a big pencil shape. It’s the exact opposite shape to the reamer, so one fits the other nicely.

I cut the corners off the rear of the seat and used the hand plane to add a 45-degree bevel on the underside.
The tenons are secured by splitting them with a chisel, then glueing in a piece of hardwood (oak, in my case). This runs across the grain of the seat to prevent splitting.
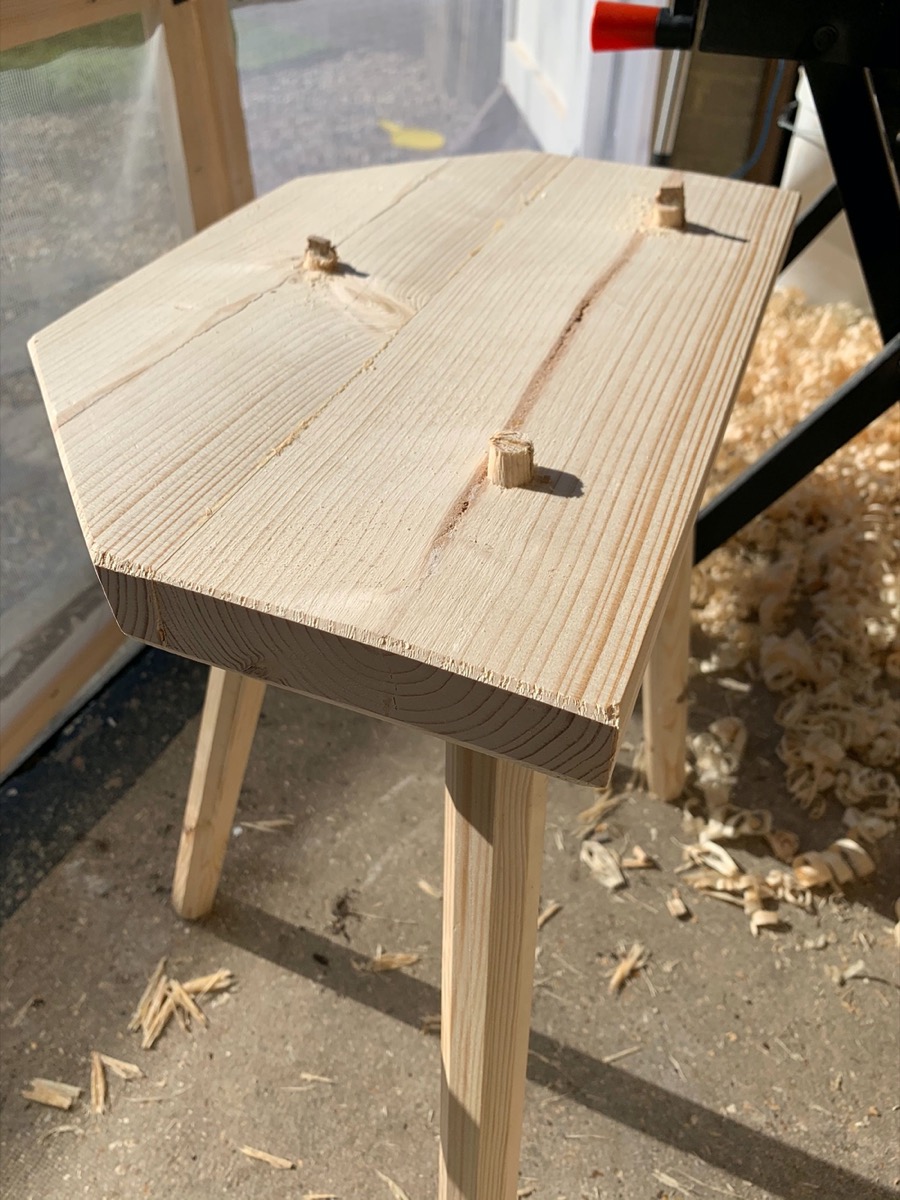
With the glue dry I trimmed the tenons flush with the seat using a hand saw, then sanded down the whole thing with some 220 grit sandpaper.
This won’t get a lot of heavy use, so I applied a shellac sanding sealer then a coat of clear paste wax for a bit of sheen.
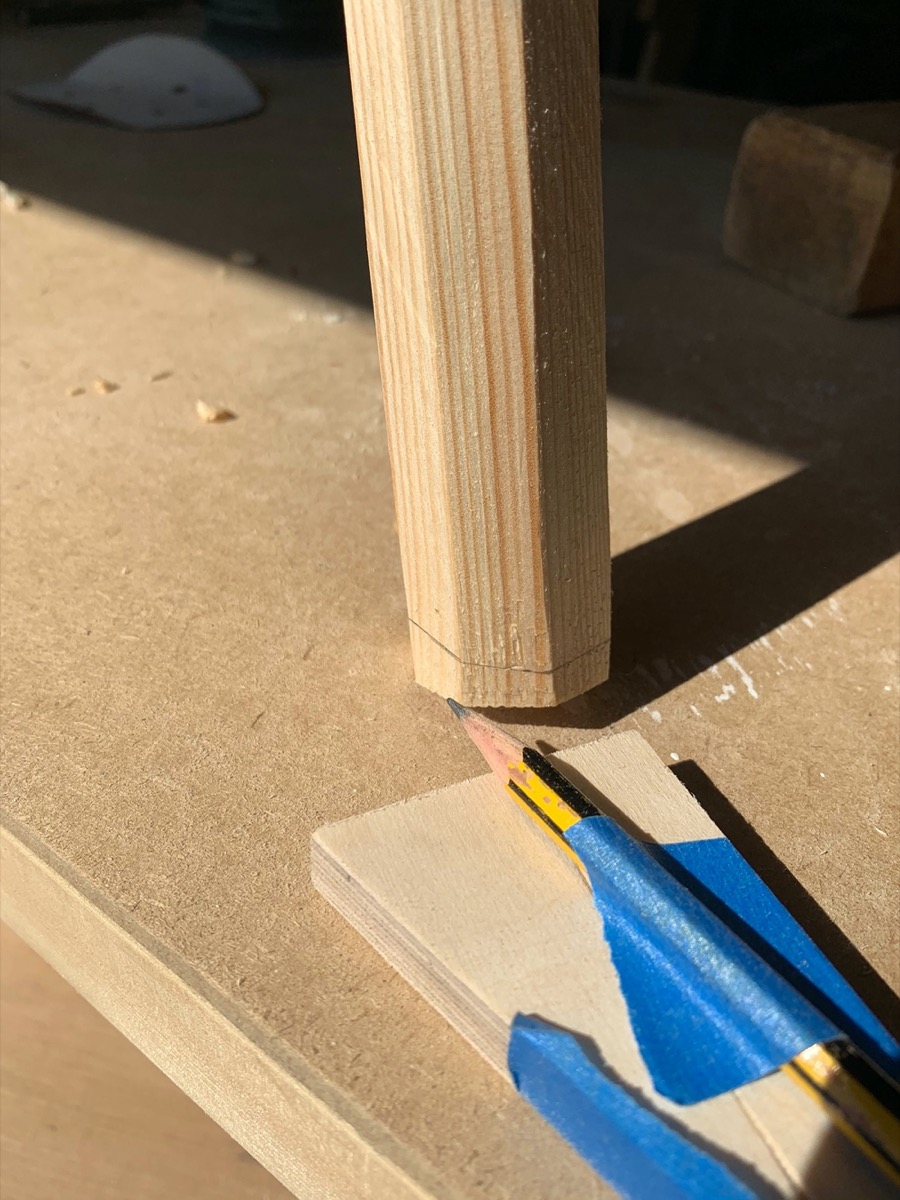
I cut the legs level by placing offcuts under each leg until the top was parallel, then tracing around the legs with a pencil taped to another offcut. Simple and effective.
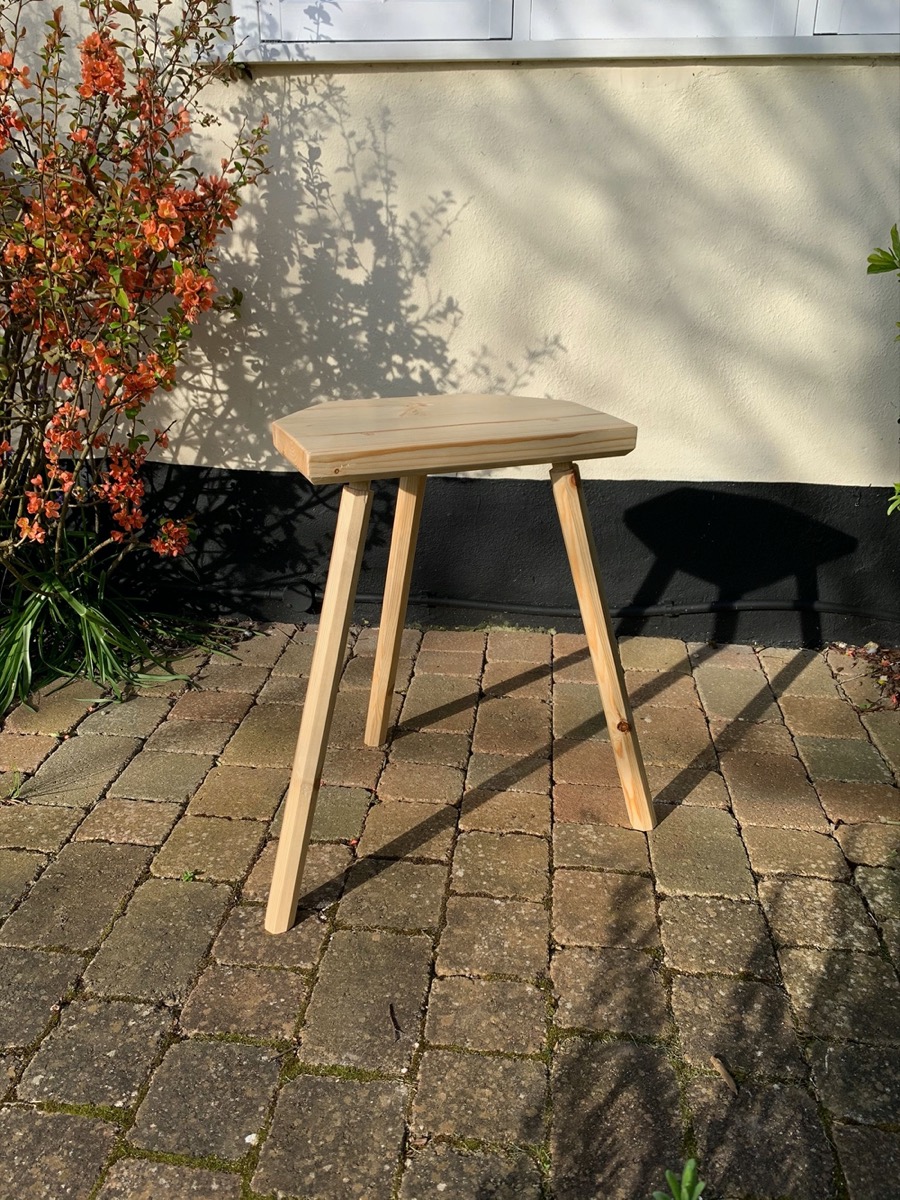
The finished product
I’ve made three split-mortise benches since this bar stool. They’re simple, strong, and they look good, even when things don’t turn out perfectly. I’m a fan.